Build Your Entire Break Scene in One Click (Set Up My Break)
— Breaker Labs
Building a break scene in OBS by hand is tedious: add a browser source, paste a URL, set the size, repeat for every widget, then arrange them. Set Up My Break does all of that in one click. This guide walks through it end to end.
You need: OBS Studio 28 or newer, with the WebSocket server enabled. If you haven't done that yet, follow the OBS Direct Sync setup guide first — it takes about two minutes.
Step 1 — Connect the Command Center to OBS
Open your Stream Command Center. On desktop, look at the control bar in the header. If it says OBS offline, click Connect OBS, paste your OBS WebSocket password, and click Connect.

Once connected, the header shows OBS connected, a Scene selector, and a Setup menu. Open Setup to find Set Up My Break.
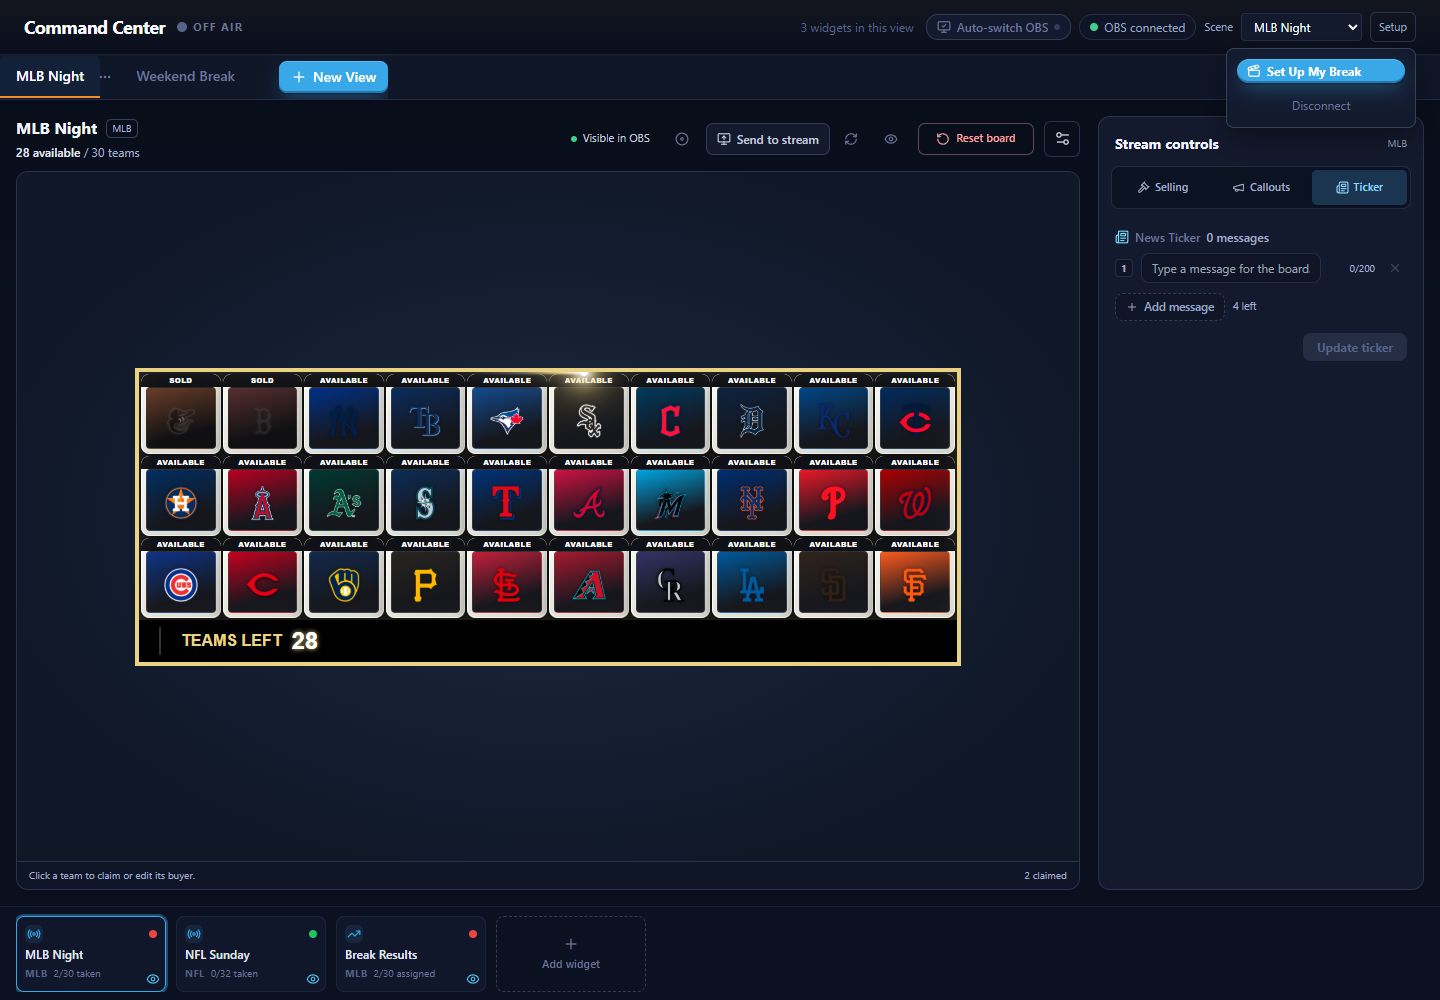
You only do this once per session. Every card and button in the Command Center shares the same connection from here.
Step 2 — Gather the widgets you want in the break
Set Up My Break uses the active widgets in your current view. A view is the saved group of widgets you drive together during a break — your Team Tracker, your Break Timer, your Randomizer, whatever you run.
Make sure the view you're looking at has the widgets you want on stream. Only widgets with a saved access token get added (every active widget has one), and the new scene is named after the view itself — so a view called "Sunday Night Slabs" becomes an OBS scene called "Sunday Night Slabs."
Step 3 — Click Set Up My Break
Open Setup in the connected desktop header and select Set Up My Break. Behind the scenes, the Command Center:
- Creates a new OBS scene named after your current view
- Adds every active widget to it as a browser source — correct URL, width, height, and FPS, all dialed in
- Switches OBS to the new scene
A toast confirms it: Set up "Sunday Night Slabs" in OBS — 3 widgets synced. Switch to OBS and your break scene is there, live, with every widget on it.
Step 4 — Arrange once
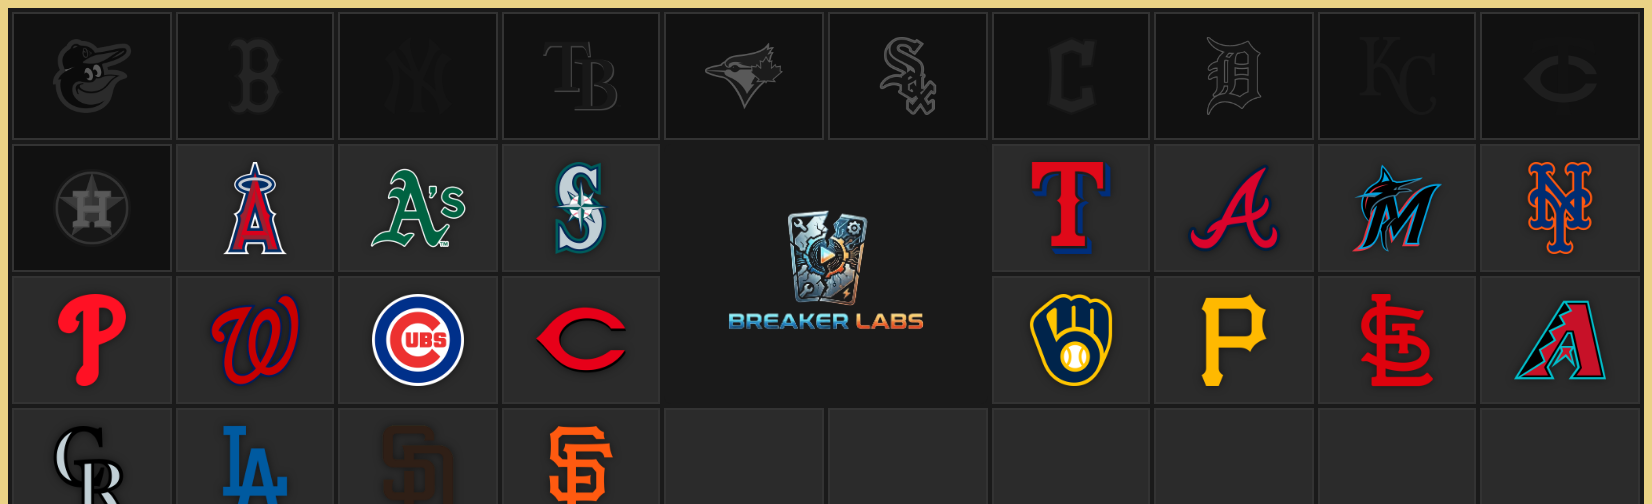
Widgets land at OBS's default placement — stacked at full size in the new scene. Drag them where you want them, scale them, layer them. You only do this once. From then on the scene is yours to reuse every stream.
Running it again is safe
Click Set Up My Break a second time and it won't pile up duplicate scenes. If a scene with that name already exists, it reuses it and re-syncs your widgets into it — keeping the placement and filters you set in Step 4 intact (the same re-sync behavior that powers Add to OBS). And if anything fails partway through a brand-new build, it cleans up the half-made scene instead of leaving a mess behind.
After the build: drive the break
Once your scene is up, the per-widget controls take over for the rest of the break:
See the current Command Center guide for the board controls, widget strip, and mobile layout.
- Reload any widget's source if it needs a refresh — no right-clicking in OBS.
- Use the eye beside the selected board or on its strip tile to show or hide its OBS source. Leave Auto-switch OBS off when you want multiple sources visible.
- Use the scene switcher in the bar to cut between scenes from the dashboard.
Troubleshooting
- The button isn't showing. Set Up My Break only appears when you're connected to OBS and your current view has at least one active widget. Check the status pill, open Setup, and make sure the view contains a saved widget.
- "Source not on scene" when toggling Show/Hide. The toggle targets the scene a widget was added to. If you moved or deleted that scene in OBS, re-run Set Up My Break (or Add to OBS) to re-establish it.
- Nothing happened in OBS. Make sure OBS is still running and the WebSocket server is enabled. If the connection dropped, the next click reconnects automatically — try once more.
That's it
One click stands up your entire break. Open the Stream Command Center, connect, and try it on your next break.