How to Run a High Bid Break (Step by Step)
— Breaker Labs
This walks through a whole high-bid break — the setup before you go live, the rhythm during, and the endgame — and explains the choices rather than just clicking through them.
If you just want the announcement, that's over here.
What a high bid break is
Teams sell one at a time at whatever price they go for. Whoever paid the most for any single team also takes the last team home. So every sale does two things: it fills a spot, and it might change who's winning the prize.
The number everyone cares about is the current maximum. That's your high bid.
Two things follow from that, and they shape how the whole night runs:
- The last team is never sold — it's awarded to whoever holds the high bid when the bidding ends.
- So the second-to-last team is the final spot anyone can buy, which makes it the last chance to beat the number. That's your climax, not the final card.
Before you go live
1. Decide which team is the prize. Usually the last team standing, which means you also want a Last Team hold on it so it can't sell early. That hold and the High Bid badge work on the same card by design.
2. Set the hold. Open the Stream Command Center, expand the picks bar, switch to Last Team, and tap the team. It's now locked from selling until you release it.
3. Pick your treatment. In the widget editor, under Effects → High Bid, choose one of the four looks and, if you want, rename the badge or change the currency symbol. The editor preview shows you the badge on a live-looking card as you flip between them, so you can judge it against your actual board colours rather than guessing.
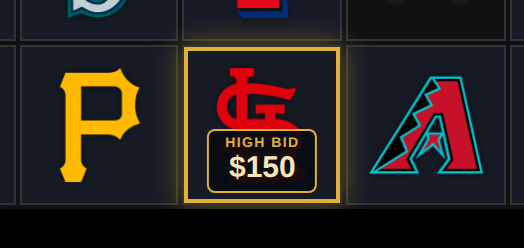
A note on choosing: Vault Badge and Ribbon are loud, which is what you want if the bid is the story of the night. Dimmed and Ghost pull the logo back so the number dominates — better on a board that's already busy with Top Teams highlights, where a fifth glowing thing just becomes noise.
Starting the bidding
The first spot sells. Say it goes for $150.
Expand the picks bar in the Command Center and you'll see the High bid on row. The team is already filled in — it defaults to your Last Team hold, because in this format the prize is the last team. Type 150, hit Set bid.
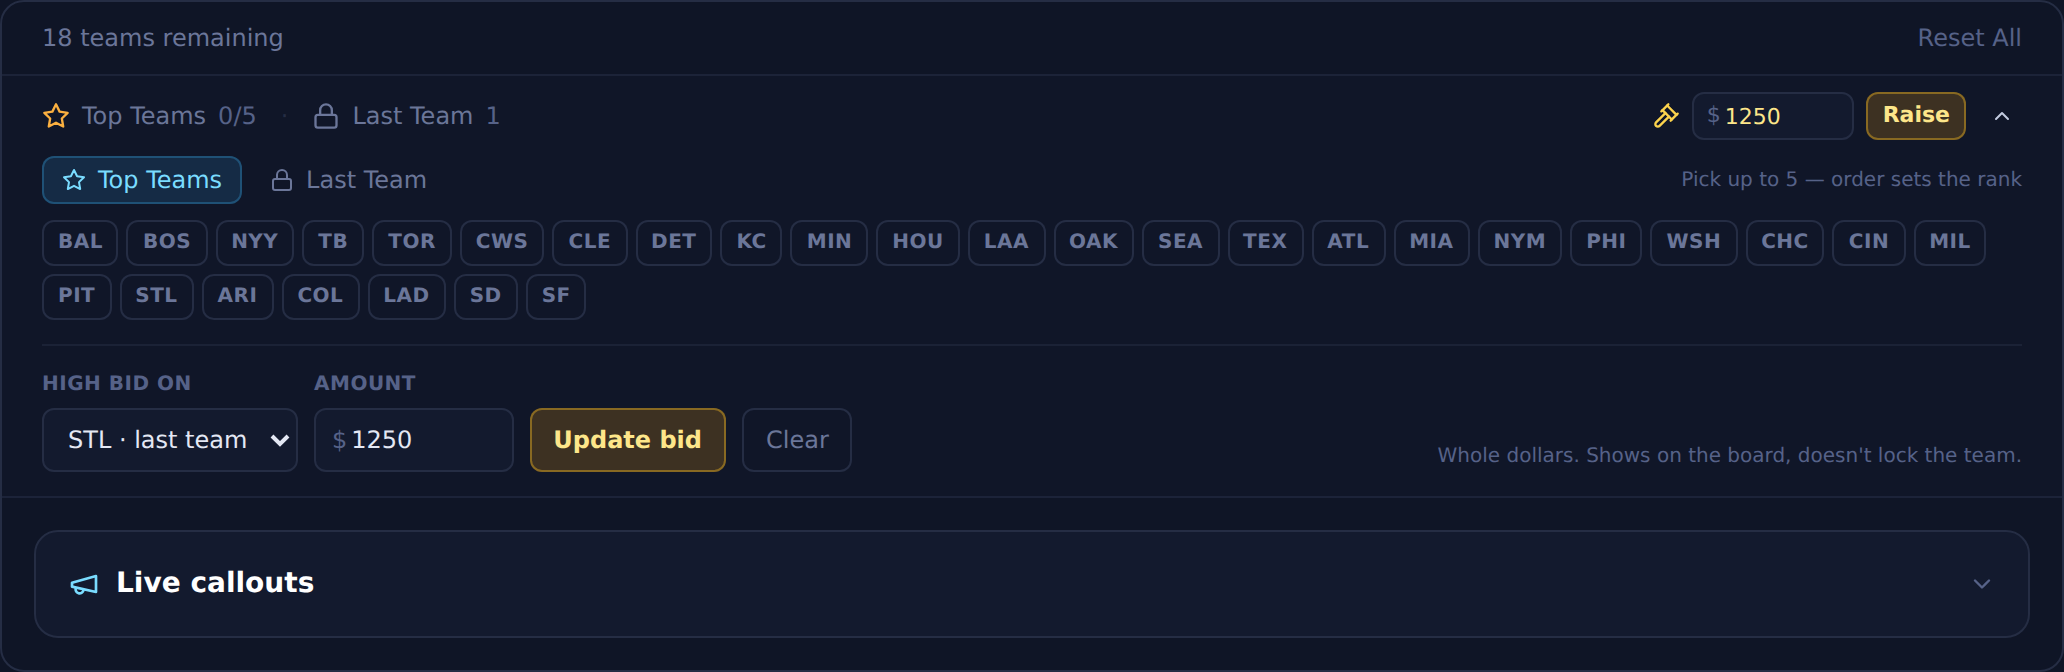
It's on every viewer's overlay before you've finished the sentence.
Raising it
This is the part you'll do twenty times, so it's built to be fast.
Once a bid exists, the collapsed picks bar carries the number itself. You don't open anything. Type the new amount, press Enter, and it's live.
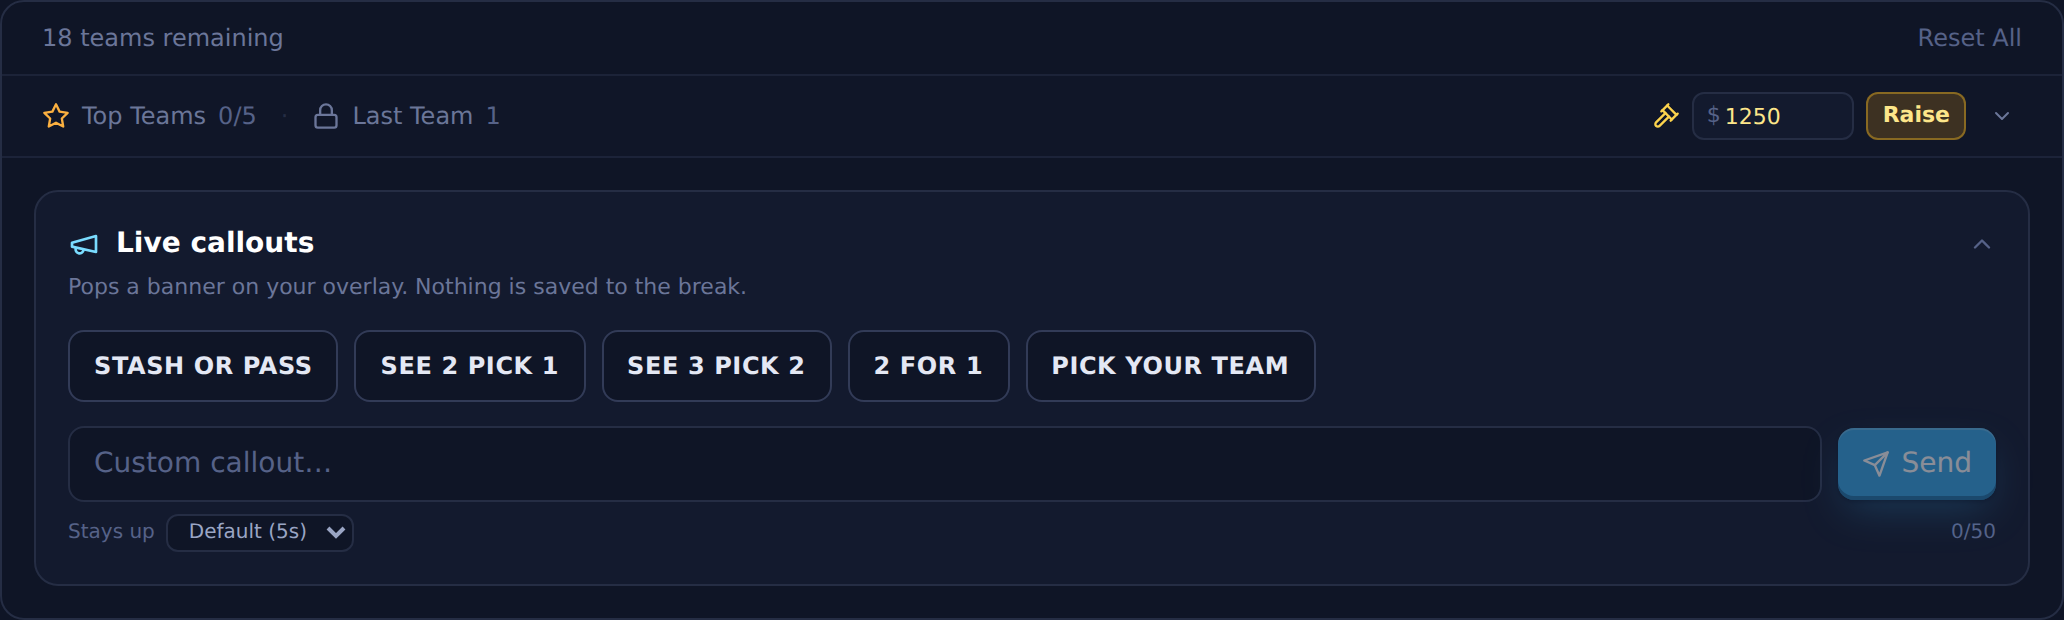
That matters more than it sounds. Mid-break you're talking, watching chat, and running the randomizer — an interaction that costs two clicks and a panel is one you'll skip, and a bid you skip updating is a bid that's wrong on stream.
Two things worth knowing:
- It only commits when you say so. Enter, or the Raise button. Clicking away does nothing. The board is live, and a stray click should never push a number to it.
- Whole dollars.
150.9becomes$150, not$151— it rounds down, never up, so the board can't inflate someone's bid.
When it's also your Last Team
If the badged card is also a Last Team hold — the normal setup — the card wears one badge, not two, and High Bid wins it.
That's deliberate. Before the bidding starts, LAST TEAM is the useful label: it tells the room this one's being held back. Once there's a number on it, the number is what people need. So the card moves from one state to the other, and the hold quietly keeps doing its job underneath.
The hold still locks. The bid still doesn't — it's a label, not a lock.
The second-to-last team is the whole break
This is the part to get right, because it's where the format actually peaks — and it isn't the final card.
The last team is never sold. It's awarded to whoever holds the high bid once the bidding stops. So the last spot anyone can actually buy is the second-to-last team, and that makes it the last chance in the entire break to beat the number on the board.
Play it that way. When you're down to two:
Say what's at stake, once. Whoever buys this spot for more than the standing bid takes the prize. Whoever doesn't, watches. The board is already showing the number, so you only have to frame the stakes, not repeat the figure.
Take the bids on that spot, and raise the badge as they come in. Every raise is live on the overlay before you've finished the sentence — so the room is watching the target move in real time while they decide whether to go again.
When it sells, the auction is closed. The last team belongs to whoever's number is on the board. Nothing more to sell.
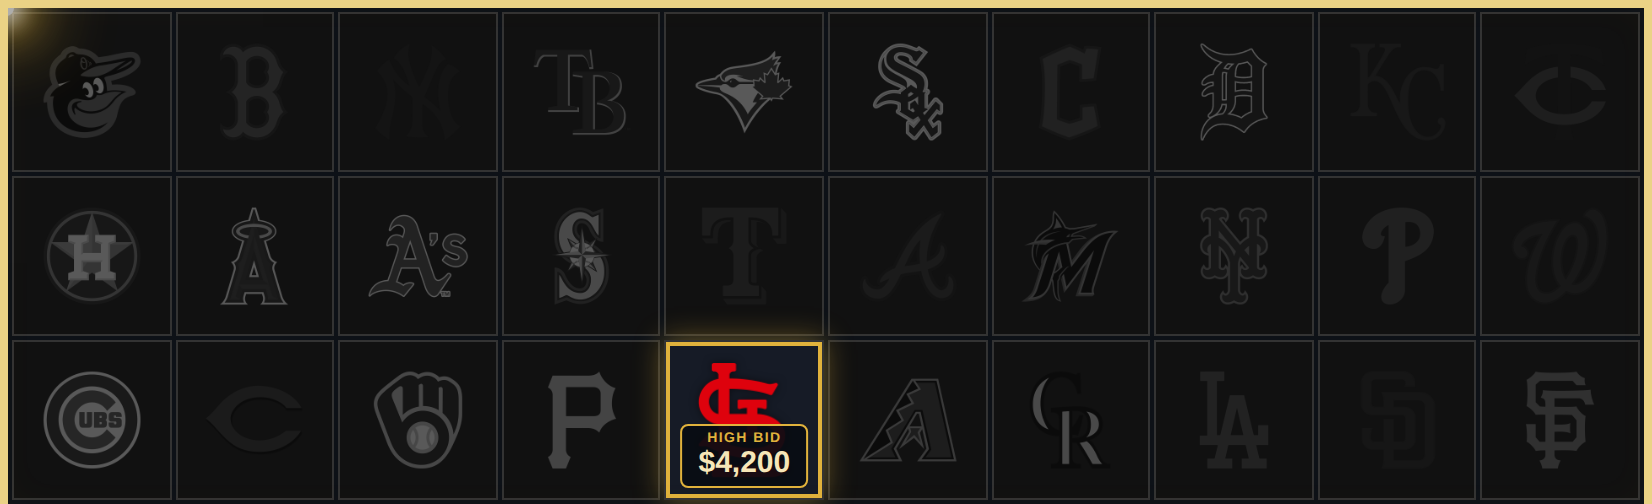
By the time your board looks like this, the number isn't a target any more — it's the result. Leave it up while you announce the winner: it's the receipt for what the last team cost.
About the hold. The Last Team hold exists to stop the prize selling by accident during the break. Since it's awarded rather than sold, you don't need to release it to "sell" that final card — release it only if you want the board to show it as taken at the end.
Things that trip people up
"I cleared the bid but the badge is still there." Clearing needs the Clear button, not an empty box. An empty amount field means "I haven't typed anything yet," not "take it down." That's on purpose — otherwise a half-deleted number mid-edit would blank the badge on stream.
"My co-host raised it and my panel still shows the old number." It shouldn't — the panel follows the server. But if you had the field half-edited when their raise landed, your typing wins until you commit or the number changes again. Check the collapsed row before you hit Raise; it always shows what's actually live.
"Can two teams have a bid?" No, one at a time. A high bid is a single running maximum by definition — two would be two different games.
"Does the badge stop the team selling?" No. That's the Last Team hold's job, and the two are separate on purpose: you might want the number on a card you're actively selling.
The short version
- Hold your prize team (Last Team)
- Pick a treatment in the editor (Effects → High Bid)
- First sale: set the bid in the panel — the team's already selected
- Every sale after: type the new number on the collapsed bar, Enter
- Second-to-last team: the last chance to beat the bid — play it as the finale
- Last team: awarded to whoever's number is on the board, not sold
High Bid is a Pro feature and works on any Team Tracker board.